I need a WordPress install to do some automated publishing tests, so had a little look around to see how easy it’d be using docker and Kitematic. Remarkably easy, it turns out, once the gotchas are sorted. So here’s the route in four steps:
1) Create a file called docker-compose.yml in a working directory of your choice, containing the following:
somemysql:
  image: mysql
  environment:
    MYSQL_ROOT_PASSWORD: example

somewordpress:
  image: wordpress
  links:
    - somemysql:mysql
  ports:
    - 8082:80
The port mapping sets the WordPress port 80 to be visible on host at port 8082.
2) Using Kitematic, launch the Kitematic command-line interface (CLI), cd to your working directory and enter:
docker-compose up -d
(The -d flag runs the containers in detached mode – whatever that means?!;-)
3) Find the IP address that Kitematic is running the VM on – on the command line, run:
docker-machine env dev
You’ll see something like export DOCKER_HOST="tcp://192.168.99.100:2376" – the address you want is the “dotted quad” in the middle; here, it’s 192.168.99.100
4) In your browser, go to eg 192.168.99.100:8082 (or whatever values your setup us using) – you should see the WordPress setup screen:
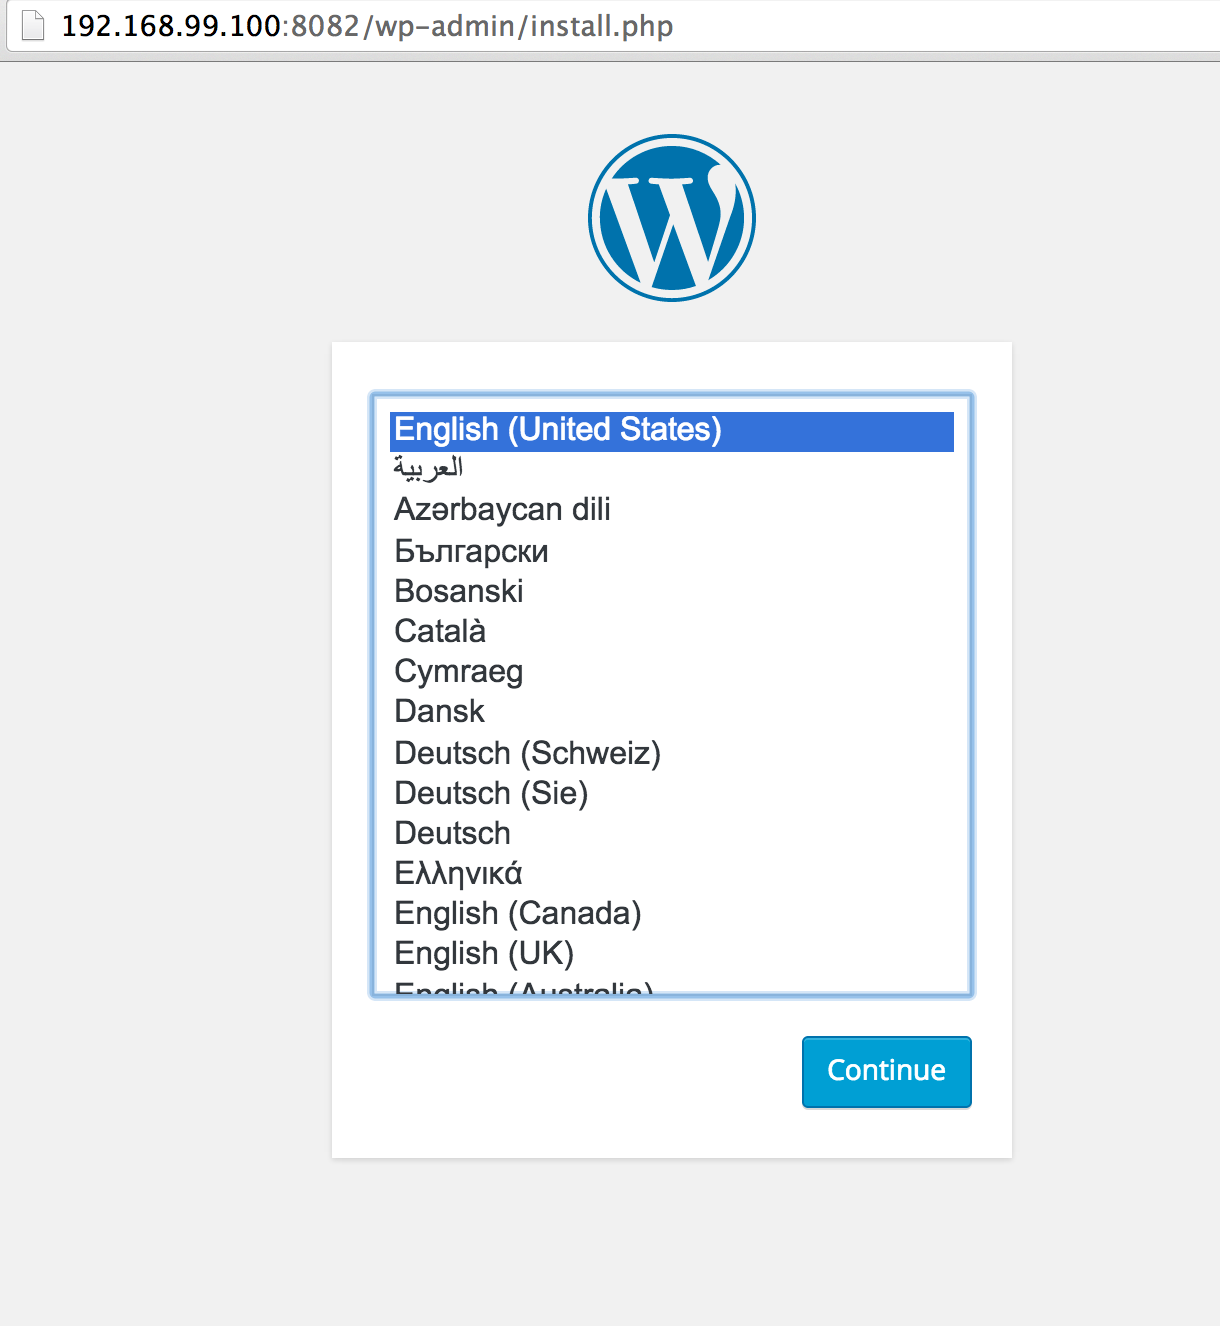
Easy:-)
Here’s another way (via this docker tutorial: wordpress):
i) On the command line, get a copy of the MySQL image:
docker pull mysql:latest
ii) Start a MySQL container running:
docker run --name some-mysql -e MYSQL_ROOT_PASSWORD=example -d mysql
iii) Get a WordPress image:
docker pull wordpress:latest
iv) And then get a WordPress container running, linked to the database container:
docker run --name wordpress-instance --link some-mysql:mysql -p 8083:80 -d wordpress
v) As before, lookup the IP address of the docker VM, and then go to port 8083 on that address.
